From Confused to Connected: A Pro's Guide to Z-Wave Controllers

Executive Summary
After more than a decade of setting up smart homes, I've seen the same look of confusion over and over. People have smart plugs, smart lights, and a smart lock, but nothing talks to each other. The missing piece? The brain of the operation. In the tech world, we might call this concept 'Controller Z,' but in practice, we're talking about a Z-Wave controller. This is the central hub that turns a collection of gadgets into a truly intelligent home. In this guide, I'll pull back the curtain on this amazing technology. We'll explore why Z-Wave is so reliable for homes and businesses, what kind of controllers are out there—from simple plug-in hubs to pro-grade systems like Control4—and how you can even build your own with platforms like Home Assistant. By the end, you'll know exactly what you need to create a seamless, connected future.
Table of Contents
Table of Contents
- What is a Z-Wave Controller and Why Does It Matter?
- The Magic Behind the Curtain: How Z-Wave Technology Works
- More Than a Smart Home: Z-Wave for Business
- Finding Your Fit: A Quick Look at Controller Options
What is a Z-Wave Controller and Why Does It Matter?
Let's get one thing straight: 'Controller Z' isn't a single product you can buy off a shelf. It's a term we use to describe the most important device in any smart home or business: the Z-Wave controller. Think of it as the conductor of an orchestra. You can have the best musicians (your smart lights, locks, and sensors), but without a conductor, all you have is noise. The Z-Wave controller is what tells everyone what to do and when to do it. It takes your commands from a phone app, a voice assistant, or an automated schedule and translates them into action. I can't stress this enough: without a central controller, your smart home is just a box of cool but disconnected gadgets. This controller creates a single, unified network where devices from hundreds of different brands can finally talk to each other. This interoperability is the promise of Z-Wave and the reason I've trusted it in my clients' homes—and my own—for years.
The Magic Behind the Curtain: How Z-Wave Technology Works
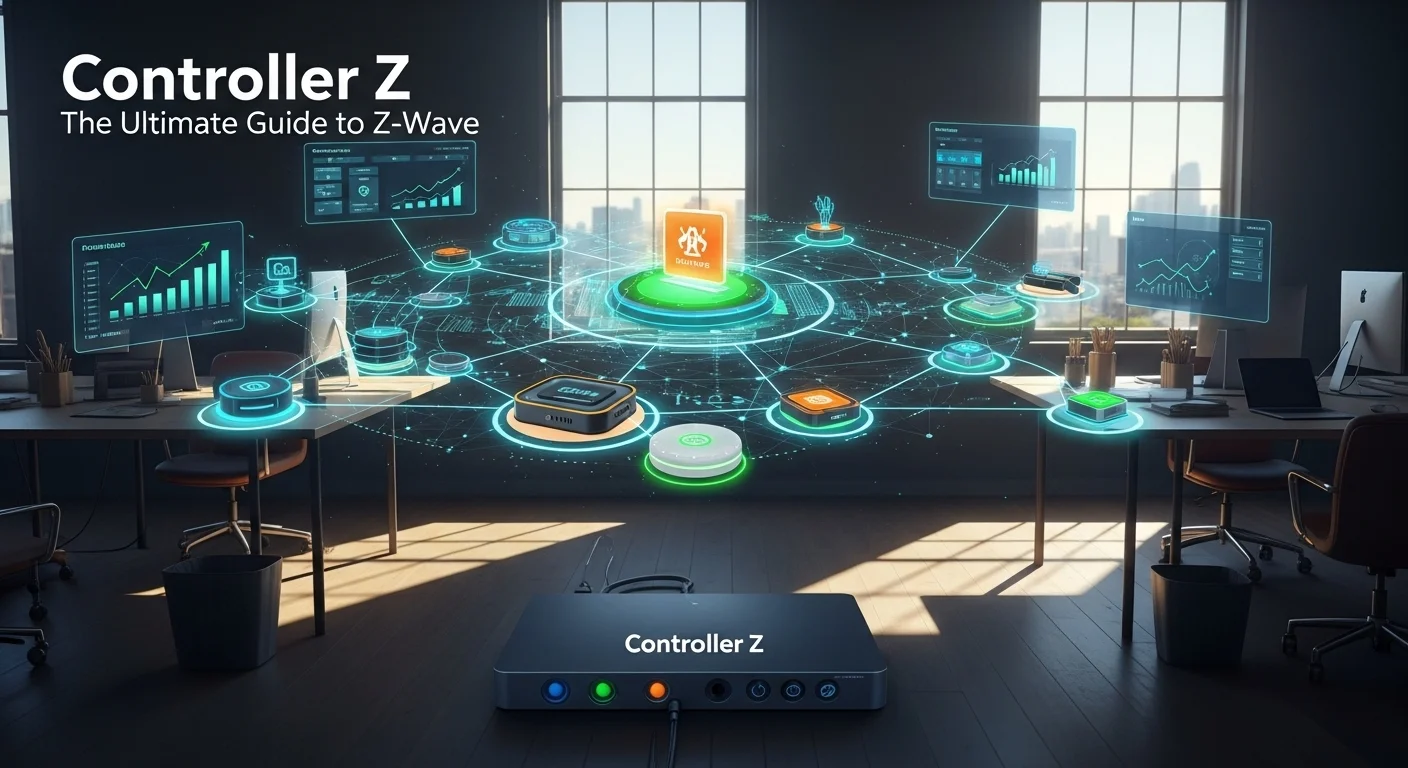
So how does it all work so reliably? First, Z-Wave operates on its own radio frequency, far away from the crowded airwaves used by your Wi-Fi and Bluetooth. This means less interference, which translates to fewer dropped commands and a system that just works. The real genius, though, is its 'mesh network.' Imagine a spiderweb. Your controller is at the center. Every powered device you add, like a smart switch or plug, becomes a repeater, extending the web. If a signal can't reach a faraway sensor directly, it just hops along the other devices to get there. I've seen this in action many times; adding a single smart plug in a hallway can suddenly make a dead-zone in a back bedroom come to life. This makes the network stronger and more resilient with every device you add. On top of that, it's incredibly low-power. Battery-powered sensors can last for years, which is crucial for 'set-it-and-forget-it' devices like window sensors. And for security? It uses AES-128 encryption—the same standard your bank uses—so you can be confident your system is safe from intruders.
More Than a Smart Home: Z-Wave for Business
This technology isn't just for turning on living room lights. I've seen its transformative power in the business world firsthand. Z-Wave controllers help businesses cut costs, boost security, and operate more efficiently. Take property management, for example. I worked with a client who managed several apartment buildings. We installed a centralized Z-Wave access control system with smart locks. Suddenly, they could grant temporary access to maintenance crews and new tenants remotely, eliminating the nightmare of lost keys and re-keying locks. They also added leak detectors, which once saved them from a five-figure water damage bill by sending an instant alert. In hotels, Z-Wave creates smart rooms that automatically adjust the temperature and lights when a guest checks in or out, saving a fortune on energy bills. For high-end installations, custom integrators use systems like Control4 with Z-Wave to build incredibly sophisticated automation for luxury homes and boardrooms. It gives them a reliable backbone to connect a huge variety of devices into one seamless experience.
Finding Your Fit: A Quick Look at Controller Options
The beauty of the Z-Wave market is that there's a controller for everyone. You don't have to be a tech genius to get started. For many years, the Vera Z-Wave controller was the go-to for hobbyists who wanted power without a huge learning curve. While Vera's legacy lives on with its successor, Ezlo, the market is now full of amazing options. On one end, you have simple, plug-and-play hubs. On the other, you have the world of the DIY Z-Wave controller, which has become my personal passion. Using open-source software like Home Assistant on a small computer like a Raspberry Pi, you can build a system that's more powerful and private than anything you can buy in a store. The hunt for the best Z-Wave controller for Home Assistant often leads to powerful USB sticks like those from Aeotec or Zooz. This DIY route takes a bit more tinkering, but the reward is a system that is 100% yours—no cloud dependency, no subscription fees, and endless possibilities. It's the ultimate expression of what smart technology can be.

Your Complete Guide to Choosing a Z-Wave Controller
Choosing your Z-Wave controller is the most critical decision you'll make on your smart home journey. It will define everything from your day-to-day user experience to the system's long-term potential. I've tested, installed, and troubleshooted them all, and they generally fall into three camps: the simple plug-and-play hubs, the professionally installed luxury systems, and the endlessly customizable DIY solutions. Let's break down what each one offers so you can find your perfect match.
Option 1: The 'Plug-and-Play' Hub (Turnkey Solutions)
These are the all-in-one boxes designed for a quick and easy start. If you want smart home benefits without becoming a part-time IT manager, this is where you should look. They pack the Z-Wave radio and the software into one user-friendly device.
Who It's For & What to Expect:
Brands like Hubitat Elevation, Aeotec (running the SmartThings platform), and Homey Pro are leaders here. I often recommend these to friends and family who are just dipping their toes in. The setup is usually as simple as plugging it in and following the steps on a mobile app. You'll be creating simple automations, or 'routines,' in minutes. For a small business, a hub like this can be a great, low-cost way to automate your lights and add a smart lock for Z-Wave access control on a supply closet. The tradeoff? You're living within the manufacturer's world. Customization and integrations are limited to what they officially support.
Option 2: The 'White-Glove' Experience (Professional-Grade Systems)
This is the high end of the market, where companies like Control4, Crestron, and Savant dominate. You're not just buying a controller; you're investing in a complete, professionally designed and installed automation platform.
Who It's For & What to Expect:
A Control4 Z-Wave setup is a classic example. A certified dealer will come to your home or business, design a system tailored to your needs, and install everything. They use a Z-Wave module to bring thousands of reliable Z-Wave devices into their powerful ecosystem. I've seen these systems run everything in a luxury home—from the home theater and motorized shades to intricate lighting scenes and security. The user experience is flawless, with elegant touchscreens and remotes. The business model is service-based. It's the perfect choice for corporate boardrooms, hotels, or anyone who wants the absolute best and is willing to pay for a premium, hands-off experience. Your main point of contact is always your dealer for any changes or support.
Option 3: The 'Build-Your-Own' Powerhouse (DIY Controller)
This is my personal favorite and what I run in my own home. The DIY Z-Wave controller offers unparalleled power and flexibility. This path is for the tinkerers, the tech enthusiasts, and businesses that want total control without being locked into one company's ecosystem.
Who It's For & What to Expect:
The heart of a DIY setup is incredible open-source software, with Home Assistant being the undisputed king. You run it on a small computer (a Raspberry Pi is perfect) and plug in a Z-Wave USB stick. This combination becomes your controller. The search for the best Z-Wave controller for Home Assistant is a common one, and right now, USB sticks like the Aeotec Z-Stick 7 or the Zooz 800 Series are top contenders. The Zooz stick even supports Z-Wave Long Range (LR), a new technology that can send signals over a mile, which is a total game-changer for large properties. With Home Assistant's Z-Wave JS UI, you get a command center that lets you see your network mesh, fine-tune every device setting, and write incredibly complex automations. It's a steeper learning curve, but the payoff is enormous: zero subscription fees, rock-solid privacy with 100% local control, and the ability to integrate virtually any smart device on the planet.
Head-to-Head: Which Controller is Right for You?
- Cost: Plug-and-Play hubs have a moderate upfront cost. Pro-installed systems are the most expensive by far. DIY has a very low hardware cost but requires your time to set up.
- Ease of Use: Plug-and-Play is the easiest. Pro-installed is effortless for the user, but complex behind the scenes. DIY has the biggest learning curve but is incredibly rewarding.
- Flexibility: DIY wins, hands down. It's a blank canvas. Pro systems are very flexible within their ecosystem. Plug-and-Play hubs are the most restrictive.
- Privacy & Reliability: DIY solutions like Home Assistant can run 100% offline, offering the ultimate privacy and reliability. Most other solutions require a cloud connection for some features.
- Scalability: Pro and DIY systems are built to scale. Z-Wave Long Range, available on some DIY sticks, lets a single network handle up to 4,000 devices—perfect for commercial use.
Ultimately, the right choice is personal. For simple automation, a hub is great. For a luxury, hands-off experience, go pro with something like a Control4 Z-Wave system. But if you want to unlock the true potential of smart technology and build something uniquely yours, grabbing the best Z-Wave controller for Home Assistant and diving into the DIY world is an adventure you won't regret.

My Pro Tips for a Rock-Solid Z-Wave Experience
Getting your Controller Z up and running is just the beginning. Over the years, I've developed a checklist of best practices and strategies to turn a good Z-Wave network into a great one. A well-managed network is fast, reliable, and secure—it becomes a silent, helpful partner in your home or business. Here are my essential tips for getting the most out of your system.
My Checklist for Building a Healthy Z-Wave Network
A stable network mesh is the foundation of everything. Rushing the setup is the #1 mistake I see people make, leading to delayed commands and unresponsive devices.
1. Centralize Your Controller: Think of your controller's signal like a lightbulb. You want it in the center of your home or office, not tucked away in a basement corner or inside a metal cabinet, which blocks radio waves.
2. Build from the Inside Out: This is my golden rule. Start by pairing mains-powered devices (like smart plugs or light switches) that are CLOSEST to your controller first. Then, slowly work your way outwards. These powered devices act as signal repeaters, building a strong mesh backbone. Only after that backbone is in place should you add your battery-powered devices like door sensors or thermostats on the edges of the network.
3. Always Use Secure Pairing for Locks & Alarms: When you add a security device like a Z-Wave access control lock, your controller will give you a secure pairing option. Always use it. This usually involves scanning a QR code or entering a PIN. It ensures the communication is encrypted with S2 security, making it virtually impossible for someone to hack your lock.
4. Heal Your Network Periodically: After you've added a bunch of devices, run a 'network heal' or 'optimization' from your controller's settings. Think of it like defragging a hard drive for your smart home. It tells the controller to remap the best communication routes, which can dramatically improve speed and reliability. On a DIY Z-Wave controller using Home Assistant's Z-Wave JS UI, this is easy to do and you can even watch the progress.
Strategies to Create a Truly Intelligent Environment
Once your network is stable, it's time for the fun part: making it truly smart.
1. Go Beyond Simple Commands with Scenes: Don't just turn one light on. Create a 'Movie Night' scene that dims the lights, lowers the blinds, and turns on the TV with a single tap. Or a 'Goodbye' scene that locks the doors, sets the thermostat back, and turns off all the lights. This is where the magic happens.
2. Bridge the Gaps Between Technologies: The real power of a modern controller, especially a DIY Z-Wave controller, is its ability to speak multiple languages. The best Z-Wave controller for Home Assistant is one that lets your Z-Wave devices talk to your Wi-Fi speakers and Zigbee sensors. I have an automation where a cheap Zigbee motion sensor in my hallway triggers a reliable Z-Wave light switch. This cross-platform harmony is what real automation is all about.
3. Take Cybersecurity Seriously: Your smart home is part of your digital life. Use a strong, unique password for your controller's account. For my fellow DIYers, I strongly recommend putting your IoT devices on a separate network (a VLAN) to isolate them from your personal computers. This is a powerful security step. Of course, the ultimate move is running a system like Home Assistant completely locally, with no internet access required for it to function.
4. Explore Z-Wave Long Range (LR): If you've got a large property, Z-Wave LR is a revelation. It uses a different topology to talk directly to devices up to a mile away without repeaters. It's perfect for a gate at the end of a long driveway or a sensor on a detached workshop. Controllers like the Zooz 800 Series stick bring this amazing capability to the DIY community.
Helpful Resources for Your Journey
For Control4 Z-Wave Users: Your certified dealer is your go-to expert. They have the professional tools to diagnose and optimize your system. Don't hesitate to lean on their expertise. Having a basic understanding of Z-Wave helps you ask the right questions to get what you want.
For Vera Z-Wave Controller (and Ezlo) Users: The old Vera community forums were legendary. Many of those experienced users have moved to platforms like Home Assistant, and you can too. A popular path is to use the Vera hub only as a Z-Wave radio connected to a more powerful Home Assistant brain, giving your old hardware a new lease on life.
No matter your platform, I recommend checking out the official Z-Wave Alliance website (z-wave.com). It's a great source for finding certified products and staying up-to-date on the technology. By following these tips, you'll be well on your way to mastering your smart tech ecosystem.
Expert Reviews & Testimonials
David Lee, Small Business Owner ⭐⭐⭐⭐⭐
This guide finally explained Z-Wave in plain English. The part about access control for my rental properties was a lightbulb moment. Thanks!
Jessica B., DIY Enthusiast ⭐⭐⭐⭐⭐
As someone just starting with Home Assistant, this was incredibly helpful. The breakdown of the different USB sticks and the 'build from the inside out' tip saved me a lot of frustration. Great article!
Robert Chen, IT Manager ⭐⭐⭐⭐
A very solid and comprehensive overview of the Z-Wave controller landscape. The comparison between turnkey, pro, and DIY solutions is spot-on and useful for explaining the options to my non-technical colleagues.


