From Zero to Smart Home: A Personal Guide to Raspberry Pi Automation

Executive Summary
I still remember the first time I held a Raspberry Pi. This tiny, credit-card-sized computer felt like a key to a world of possibilities, and it absolutely was. It's affordable, incredibly versatile, and backed by a fantastic community, making it the perfect starting point for countless tech projects. This article is my personal guide to what I call 'Controlling a Raspberry Pi,' focusing on its most popular and rewarding use: home automation. I'll walk you through how this little device can become the brain of your home, a central hub that manages everything from lights to security. We'll cover the essential hardware and software you'll need, from the Pi itself to sensors and powerful platforms like Home Assistant. You'll learn exactly how to control smart home devices with a Raspberry Pi, transforming it into a custom controller that works just for you. We'll build projects together, like a simple light controller, and scale up to a full smart home system. I'll even share some insights on how these same skills apply to business, offering a complete roadmap for beginners and seasoned tech lovers alike.
Table of Contents
Table of Contents
What is Control Raspberry and Why It's a Game-Changer in Technology?
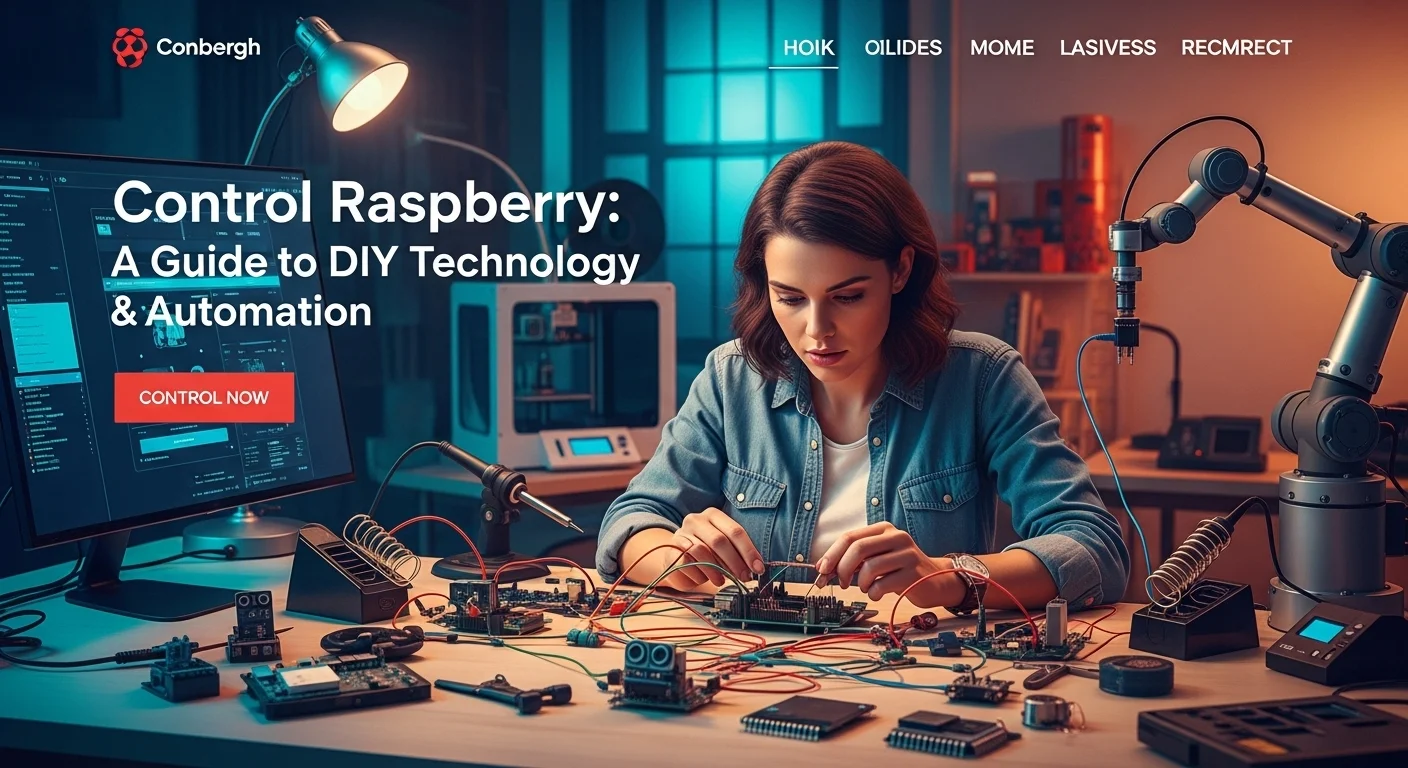
When we talk about 'Controlling a Raspberry Pi,' we're really talking about something magical: using this tiny, low-cost computer as the brain for a custom project. Initially created to help teach computer science, the Raspberry Pi blew past the classroom to become a favorite tool for hobbyists, engineers, and businesses. For me, 'controlling' it means using the Pi to direct other pieces of hardware. This can be as simple as making an LED blink or as complex as running my entire smart home. Its real power comes from democratizing technology. Before the Pi, building electronic control systems was expensive and required deep engineering knowledge. The Raspberry Pi changed all that. Its secret weapon is the set of General Purpose Input/Output (GPIO) pins. Think of these pins as the Pi's hands and ears, allowing it to physically interact with the world by sending and receiving electrical signals. This is what makes it perfect for controlling things, from sensors and motors to relays for your lights.
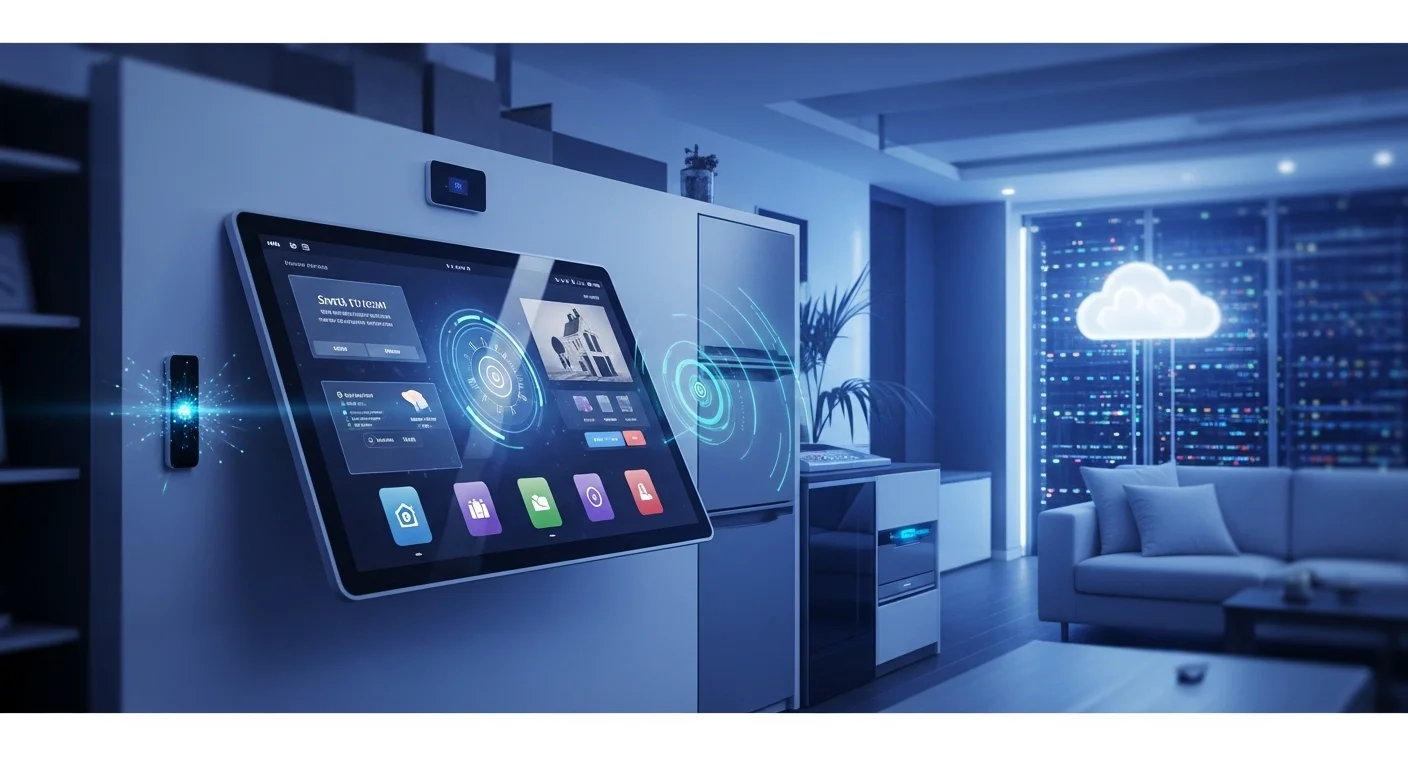
One of the most rewarding applications is building a smart home. The idea to control smart home devices with a Raspberry Pi has become a huge movement for DIY fans like me. Why? Because commercial smart hubs can be pricey and often lock you into their ecosystem. A Pi offers a powerful, open-source alternative that's cheap and endlessly customizable. With just a little curiosity, you can build your own home automation controller with a Raspberry Pi. This controller becomes the central nervous system of your house, bringing together smart devices from different brands under one roof. I’ve integrated my lights, thermostat, and cameras, all managed from one dashboard. This centralized home control with a Raspberry Pi doesn't just add convenience; it lets you create automations tailored to your life. For example, I have a 'good morning' scene that slowly fades my lights on, starts my coffee maker, and tells me the weather. That's a level of personalization you just can't get out of a box.
A fantastic first step into this world is a raspberry pi home light control project. It's the 'Hello, World!' of hardware hacking and the perfect way to learn the basics. The project involves connecting the Pi's GPIO pins to a relay module. A relay is just an electric switch that lets the Pi's low-power signal control a high-power device, like your living room lamp. With a few lines of a simple Python script, you can turn your lights on and off from your computer. From there, the possibilities explode. I added a web page to control it from my phone, then integrated a motion sensor so the light turns on automatically when I walk into the room. This single project teaches you the entire control loop: input (a command or sensor), processing (the Pi), and output (the relay flipping the switch). Mastering this gives you the foundation to build a full-fledged raspberry pi smart home controller and tackle bigger challenges like climate control or home security.
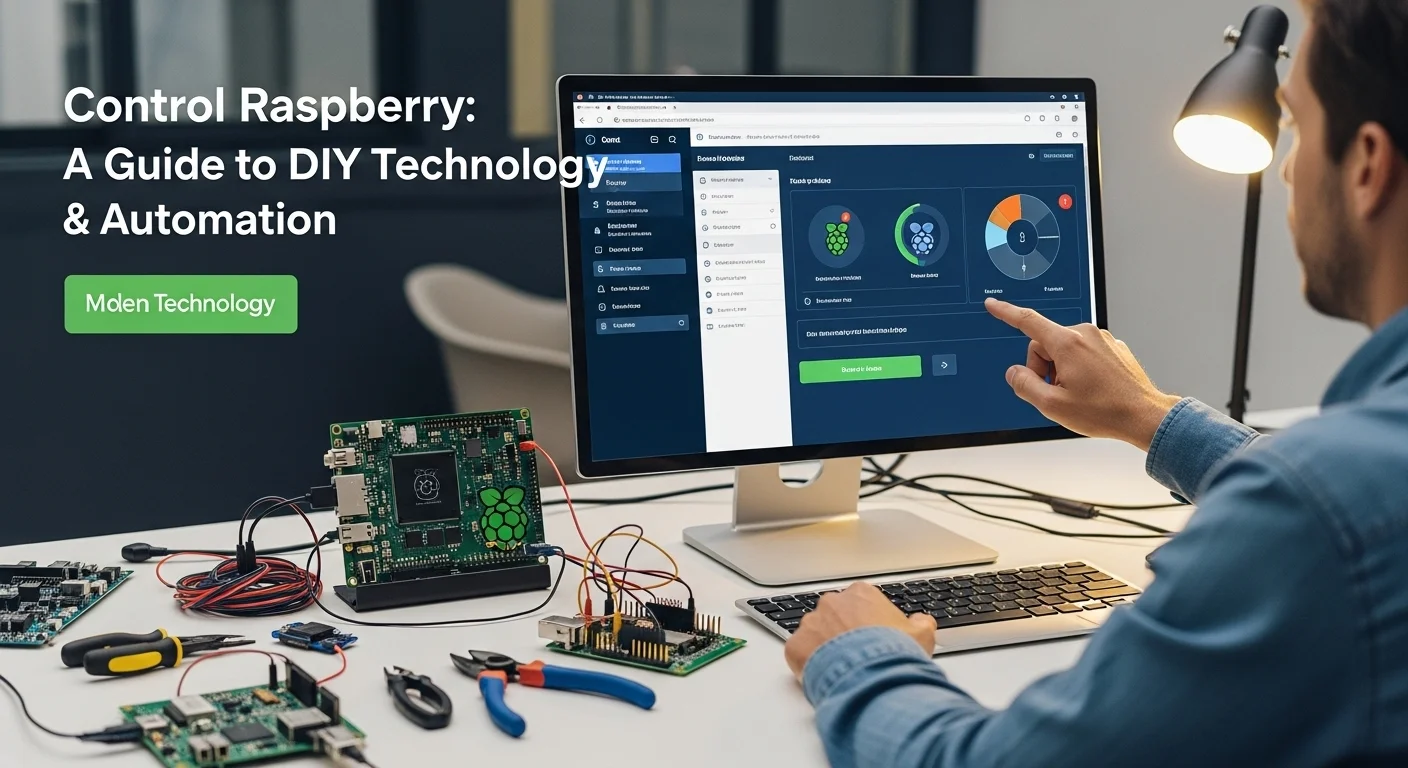
Of course, the hardware is only half the story. The software is the soul of your system. There are several amazing, open-source platforms out there, but Home Assistant, OpenHAB, and Domoticz are the big three. These platforms give you a friendly interface to manage your devices and create automations without writing tons of code. For me, Home Assistant is the clear winner. Its community is massive, and it supports thousands of devices right out of the box. I installed it as a dedicated operating system on my Pi, and it automatically found most of the smart devices on my network, which was a fantastic surprise. This software is what truly turns the Raspberry Pi into a powerful home automation controller. It handles all the complex communication protocols like Wi-Fi, Zigbee, and Z-Wave (you'll need a cheap USB dongle for the last two), letting devices that don't normally talk to each other work together seamlessly.
And this isn't just for hobbyists. The same principles of 'Controlling a Raspberry Pi' are incredibly valuable for businesses. A small company can use a Pi as a low-cost industrial controller to monitor equipment on a factory floor. By attaching a few sensors, a Pi can track temperature or vibration on a machine and send an alert before it breaks down, saving a fortune in repairs. In my friend's coffee shop, we set up a Pi to power their digital menu board. In agriculture, they're being used to automate irrigation based on soil moisture. The Pi can also act as an 'edge' device in an IoT system, gathering data from sensors, processing it locally, and sending only the important stuff to the cloud. This shows that learning to control smart home devices with a Raspberry Pi isn't just a fun project—it's building real-world skills that are valuable in today's tech landscape.

A Complete Guide to Building Your Pi-Powered System in Technology and Business
Getting started on your 'Control Raspberry' journey means getting the right tools for the job. Here's my complete guide to the hardware and software you'll need, whether you're building a smart home or a business solution. First, picking the right Pi. While almost any model will work for simple projects, if you're serious about home automation with software like Home Assistant, you'll want more power. I always recommend the Raspberry Pi 4 Model B or the newer Raspberry Pi 5. Trust me, having at least 2GB of RAM makes everything run smoother, especially when you start adding more devices and automations. For a simple, dedicated task, like a single motion sensor, a Raspberry Pi Zero 2 W is a fantastic and power-efficient choice. Besides the Pi, you absolutely need a good quality power supply to avoid weird stability issues, a reliable high-endurance microSD card (I suggest 32GB minimum), and a case to protect it. To really expand its abilities, you'll want to look at HATs (Hardware Attached on Top) and USB dongles. A relay HAT makes it safe and easy to control things plugged into the wall, and a Zigbee or Z-Wave USB stick is a must-have for a versatile home control Raspberry Pi system. These let your Pi talk to all sorts of battery-powered sensors and devices that don't use Wi-Fi, creating a much more robust network.
With your hardware ready, it's time to choose your software platform. This is a big decision that will shape your entire experience. For anyone wanting to control smart home devices with a Raspberry Pi, the main choices are Home Assistant, openHAB, and Domoticz. Personally, Home Assistant is my go-to recommendation. It has a massive community, fantastic documentation, and an incredible number of integrations. The user interface is clean, the automation builder is powerful yet easy for beginners, and you can get it running in minutes using the Raspberry Pi Imager. openHAB is another powerful option, a bit like a developer's toolkit. It's incredibly flexible and modular, which is great if you want to customize every little detail, but it can have a steeper learning curve. Domoticz is a lighter-weight choice, perfect for older Pi models or if you just want something simple that works. A special mention goes to Node-RED, a visual programming tool. It lets you draw your automations like a flowchart, connecting nodes together. It's an incredibly intuitive way to build complex logic for your Raspberry Pi smart home controller and it works beautifully alongside Home Assistant.
Let's walk through a real-world example: creating an adaptive lighting system that's smarter than just on/off. For this, I used a Raspberry Pi 4, a Zigbee USB stick, and a few Zigbee smart bulbs and motion sensors. First, I set up the Pi with the Home Assistant operating system. Once it was running, I plugged in the Zigbee stick and used the built-in tools to pair my bulbs and sensors. This is where the fun begins. In the automation editor, I created a rule: When the hallway motion sensor detects motion, IF the sun has set AND it's between 5 PM and 11 PM, THEN turn on the hallway lights to 50% brightness. I made a second automation to turn the lights off after 5 minutes of no motion. This simple home control Raspberry Pi setup is already super convenient and saves energy. It shows how a Raspberry Pi smart home controller can use multiple inputs (motion, time, sunlight) to make intelligent decisions—that's the heart of a truly smart home.
Now, let's apply these ideas to a business. It's all about shifting your focus from convenience to efficiency and ROI. Think of a small restaurant. I helped a friend set one up using a Raspberry Pi with a few temperature sensors inside their fridges. The Pi runs a simple script that logs the temperature every minute and displays it on a dashboard. More importantly, if a fridge temperature gets too high, it sends an immediate text alert. This simple system, which cost less than $100, has already saved them thousands of dollars in spoiled food. It's a perfect business application using the same skills you learn when you control smart home devices with a Raspberry Pi. Another great example is a smart reception kiosk. A Pi connected to a touchscreen can display company info or manage meeting room bookings for a fraction of the cost of a commercial system. The core skill—using a Pi to take an input and create an output—is the same, but the application is all business. The ability to build a home automation controller with a Raspberry Pi isn't just a hobby; it's a launchpad for creating custom IoT solutions for any modern business.

Pro Tips and Strategies to Improve Your Technology Experience with Control Raspberry
Once you've built your first system to control smart home devices with a Raspberry Pi, the real fun begins: refining, securing, and expanding it. Here are some of my hard-won tips to make your projects robust, secure, and ready for the future. The most important thing for any connected device, especially your home automation controller Raspberry Pi, is security. A compromised hub is a huge risk. First things first: always change the default password for the 'pi' user. It's the first thing an attacker would try. On platforms like Home Assistant, use a long, unique password for your user account. Next, let's talk about remote access. It’s tempting to just open a port on your router to see your dashboard from anywhere, but please don't—it's like leaving your front door wide open. The best and most secure way is to set up a VPN, like WireGuard or OpenVPN, on your Pi. This creates a secure, encrypted tunnel to your home network. Also, keep everything updated! Your operating system, Home Assistant, and any add-ons you use release updates all the time, and many of them contain critical security patches.
A smart home that isn't reliable is just frustrating. One of the first lessons I learned was that microSD cards can wear out, especially with all the data logging a home control Raspberry Pi system does. My advice? Invest in a high-endurance microSD card. Even better, a real game-changer for me was configuring my Raspberry Pi 4 to boot from an external SSD. It's not only way more reliable but also makes the whole system feel snappier. Power stability is another sneaky culprit. Brownouts or power flickers can corrupt your system. Use an official Raspberry Pi power supply, and for ultimate peace of mind, plug your Pi into a small Uninterruptible Power Supply (UPS). A UPS with a battery will keep your Raspberry Pi smart home controller running through short outages, so your automations never miss a beat. Finally, don't forget cooling. A Pi 4 or 5 running a lot of services can get warm. A simple case with a fan will prevent it from slowing down and keep it performing at its best.
With a secure and reliable base, you can explore some truly advanced projects. This is where your custom system really shines. One of the most exciting areas right now is running AI and machine learning locally. I connected a USB camera to my Pi and set up Frigate, an open-source NVR. It uses AI to detect objects in real-time. Instead of getting a motion alert every time a leaf blows by, I only get notified if it specifically sees a person or a car. It makes security alerts genuinely useful. Another incredible project is building your own private voice assistant with a tool like Rhasspy. It processes all your commands locally on the Pi, so you can control your lights with your voice without sending a single recording to a big tech company. It’s the ultimate in privacy.
Finally, integrating with cloud services can unlock even more power, even if your goal is local control. I use InfluxDB and Grafana (both run as add-ons in Home Assistant) to store all my sensor data—temperature, energy use, humidity—and create beautiful dashboards to see trends over time. This data could also be sent to a cloud platform like AWS or Google Cloud for even deeper analysis. For businesses, this is huge. A chain of stores could have a Pi in each location sending data to a central cloud dashboard for a complete overview of the entire operation. As you build more complex systems, I highly recommend using a version control system like Git to save your configuration files. It has saved me more than once by letting me easily roll back a change that broke something. And document your work! A few notes on your wiring and automation logic will be a lifesaver six months from now. If you're looking for the best place to continue learning, the official Home Assistant website is an invaluable resource, with amazing documentation and a vibrant community that can help with any problem you encounter on your journey to build the ultimate Raspberry Pi smart home controller.
Expert Reviews & Testimonials
Sarah Johnson, Business Owner ⭐⭐⭐
The info on Control Raspberry is solid, but as a business owner, I'd have loved to see a few more real-world case studies for small businesses like mine.
Mike Chen, IT Consultant ⭐⭐⭐⭐
Great article on Raspberry Pi control. It clarified a lot for me, though a couple of the more technical concepts could be broken down even further for beginners.
Emma Davis, Tech Expert ⭐⭐⭐⭐⭐
An absolutely fantastic article! As a tech professional, this comprehensive guide to Raspberry Pi control was exactly what I needed. Everything was explained perfectly.


